How to Fix Stretched Sweater Hems (A Fashion Industry Trick)
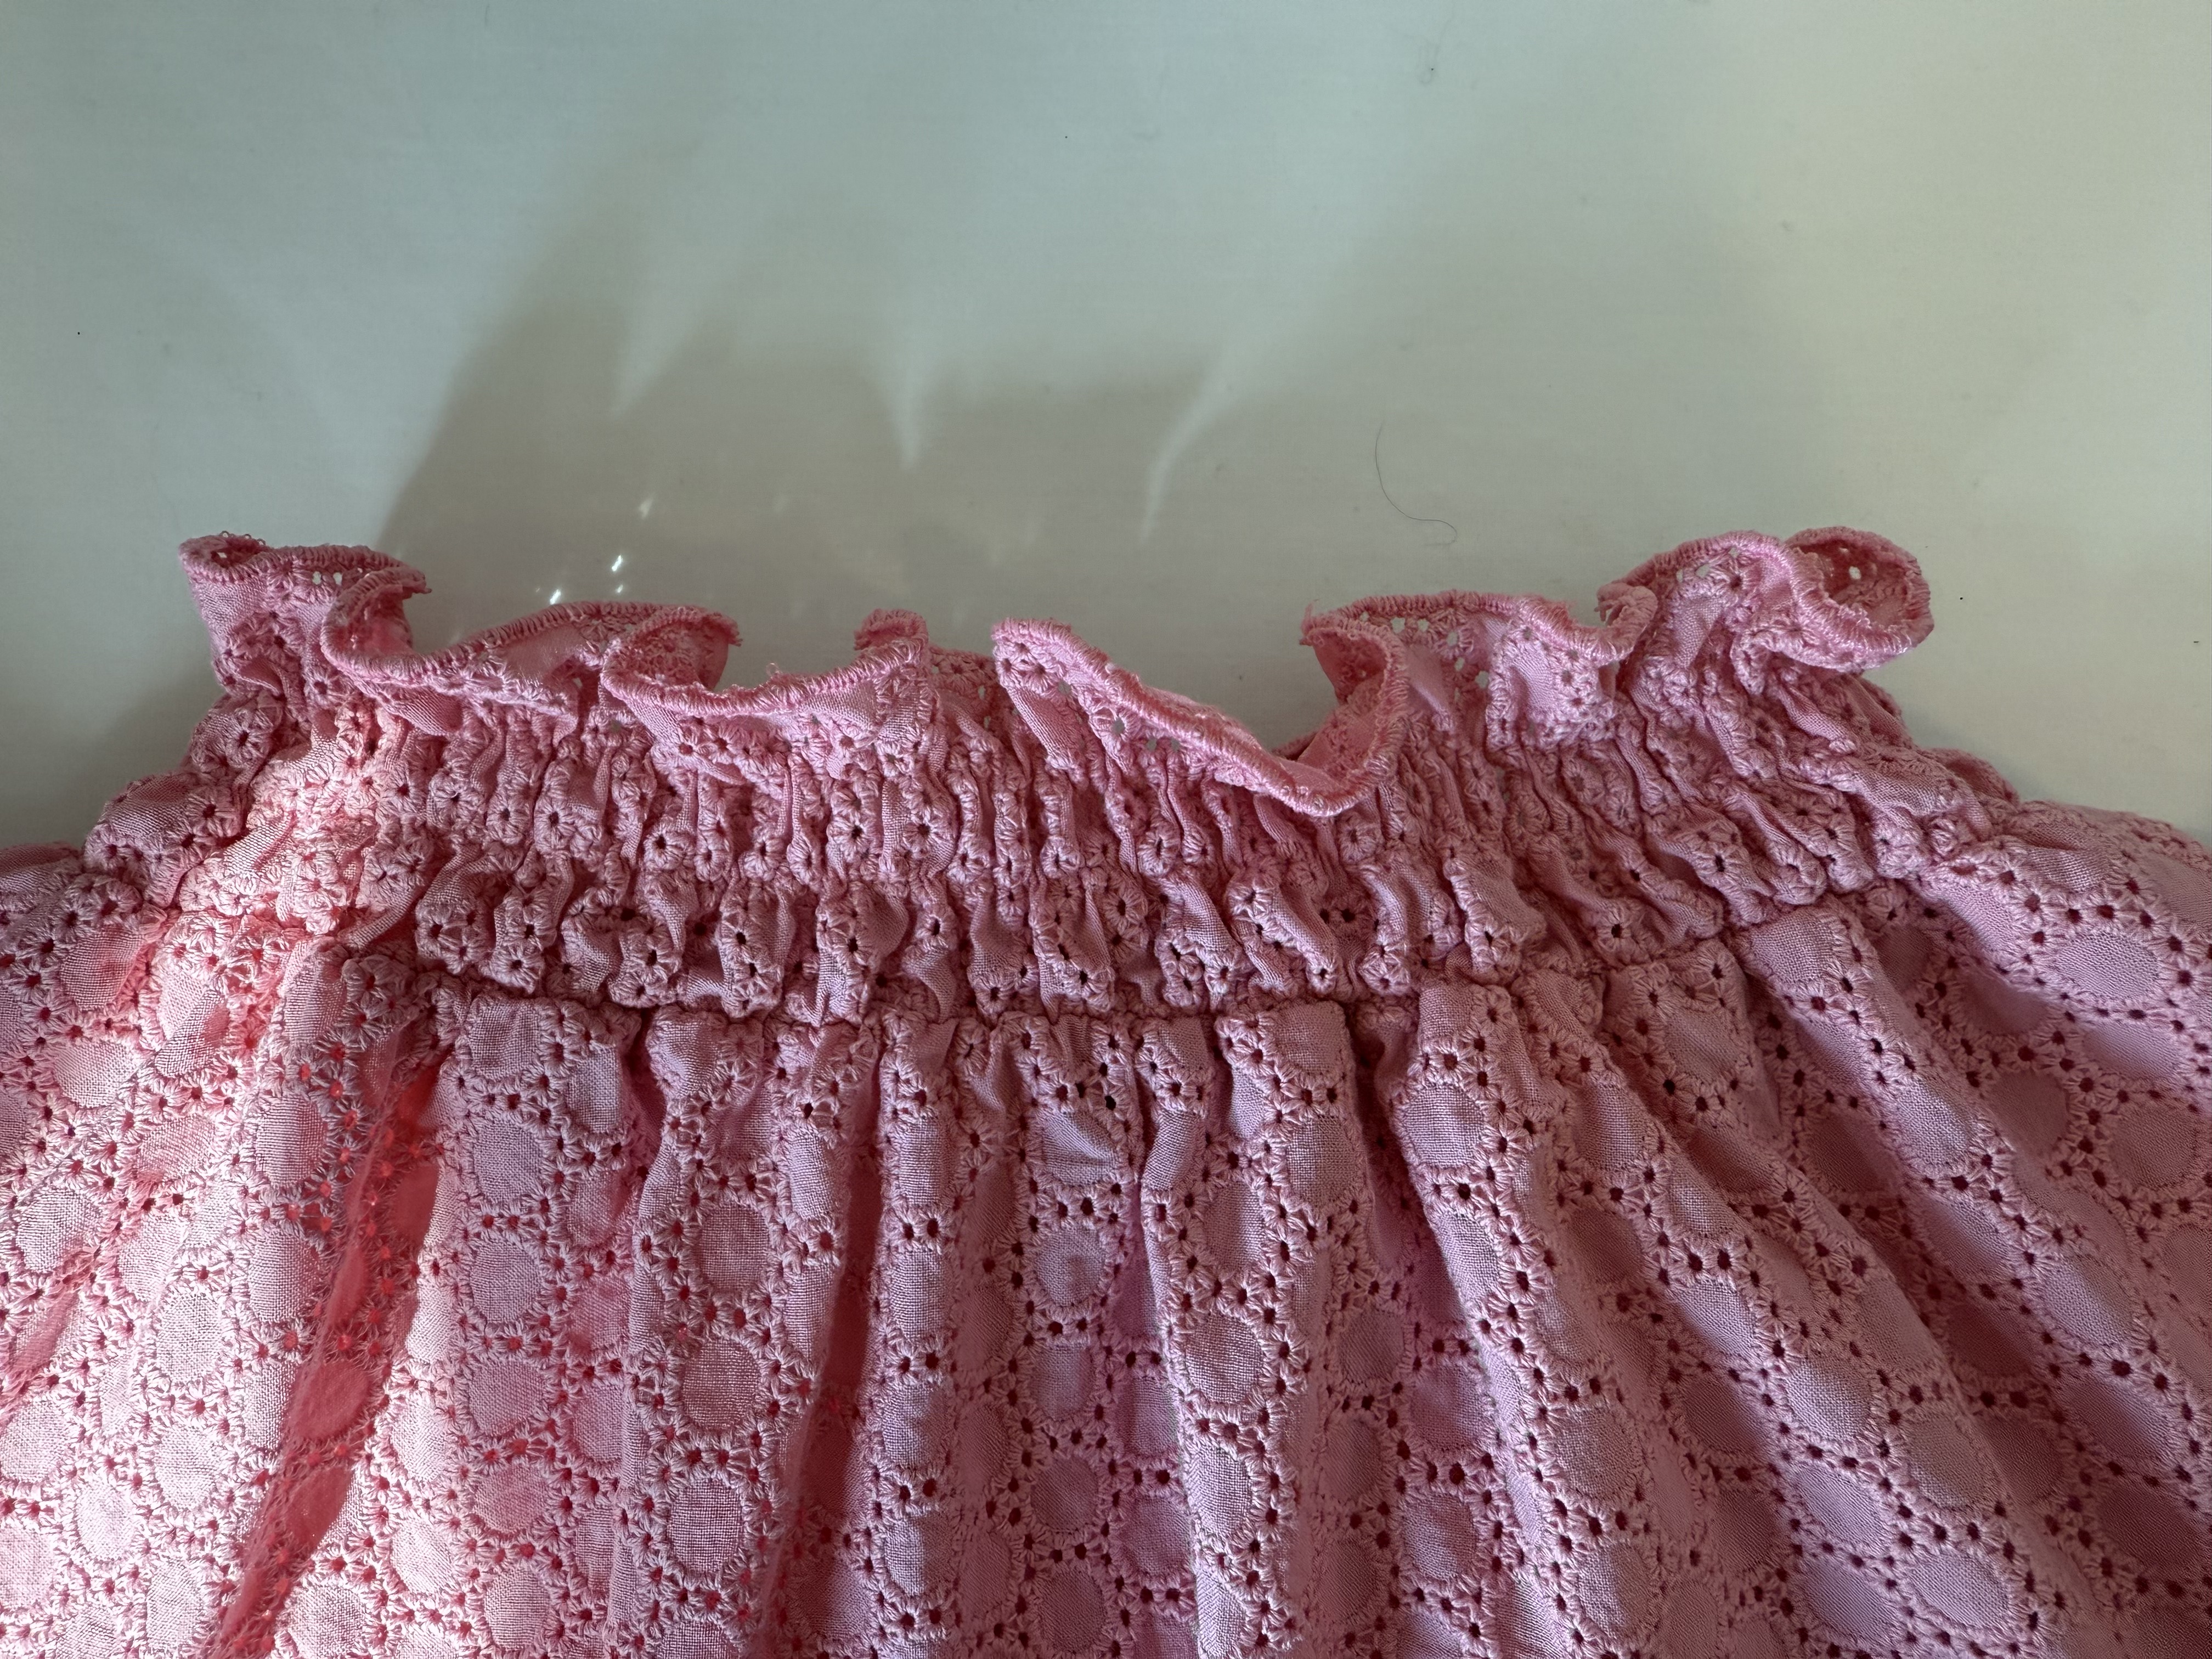
If you’ve ever put on a sweater in the morning and watched it slowly lose its shape throughout the day, you’re not alone. One of my biggest pet peeves is stretched-out sweater hems. You start the day cozy and polished, and by the end, your sweater feels oversized in all the wrong ways.
Here’s the truth most people don’t know: knit fabric will always stretch. It’s not a quality issue, it’s the nature of knits.
What I Learned Working in the Fashion Industry
My very first job in fashion was on a sweaters team at a large brand. At the time, I barely knew how sweaters were made (and I still can’t really knit), but I learned more about knit construction than I ever expected.
There is a lot that goes into a sweater, but my biggest take away involved elastic. Adding elastic to the hem of a sweater dramatically improves its longevity.
This is typically done during the knitting process by adding elastic to the last few rows. Because it adds cost, most brands skip this crucial step. Some factories don’t even know it should be done. I’ve even worked with higher-end brands where factories had no idea this was an option. Trying to explain this to them over email was nearly impossible!
The Good News: You Can Fix This Yourself
Since most sweaters don’t include this step, I’m going to show you how to add elastic after the sweater is already made.
This works for: store-bought sweaters, knit sweaters, and vintage sweaters with stretched hems. And the best part is, you don’t need to remake anything!
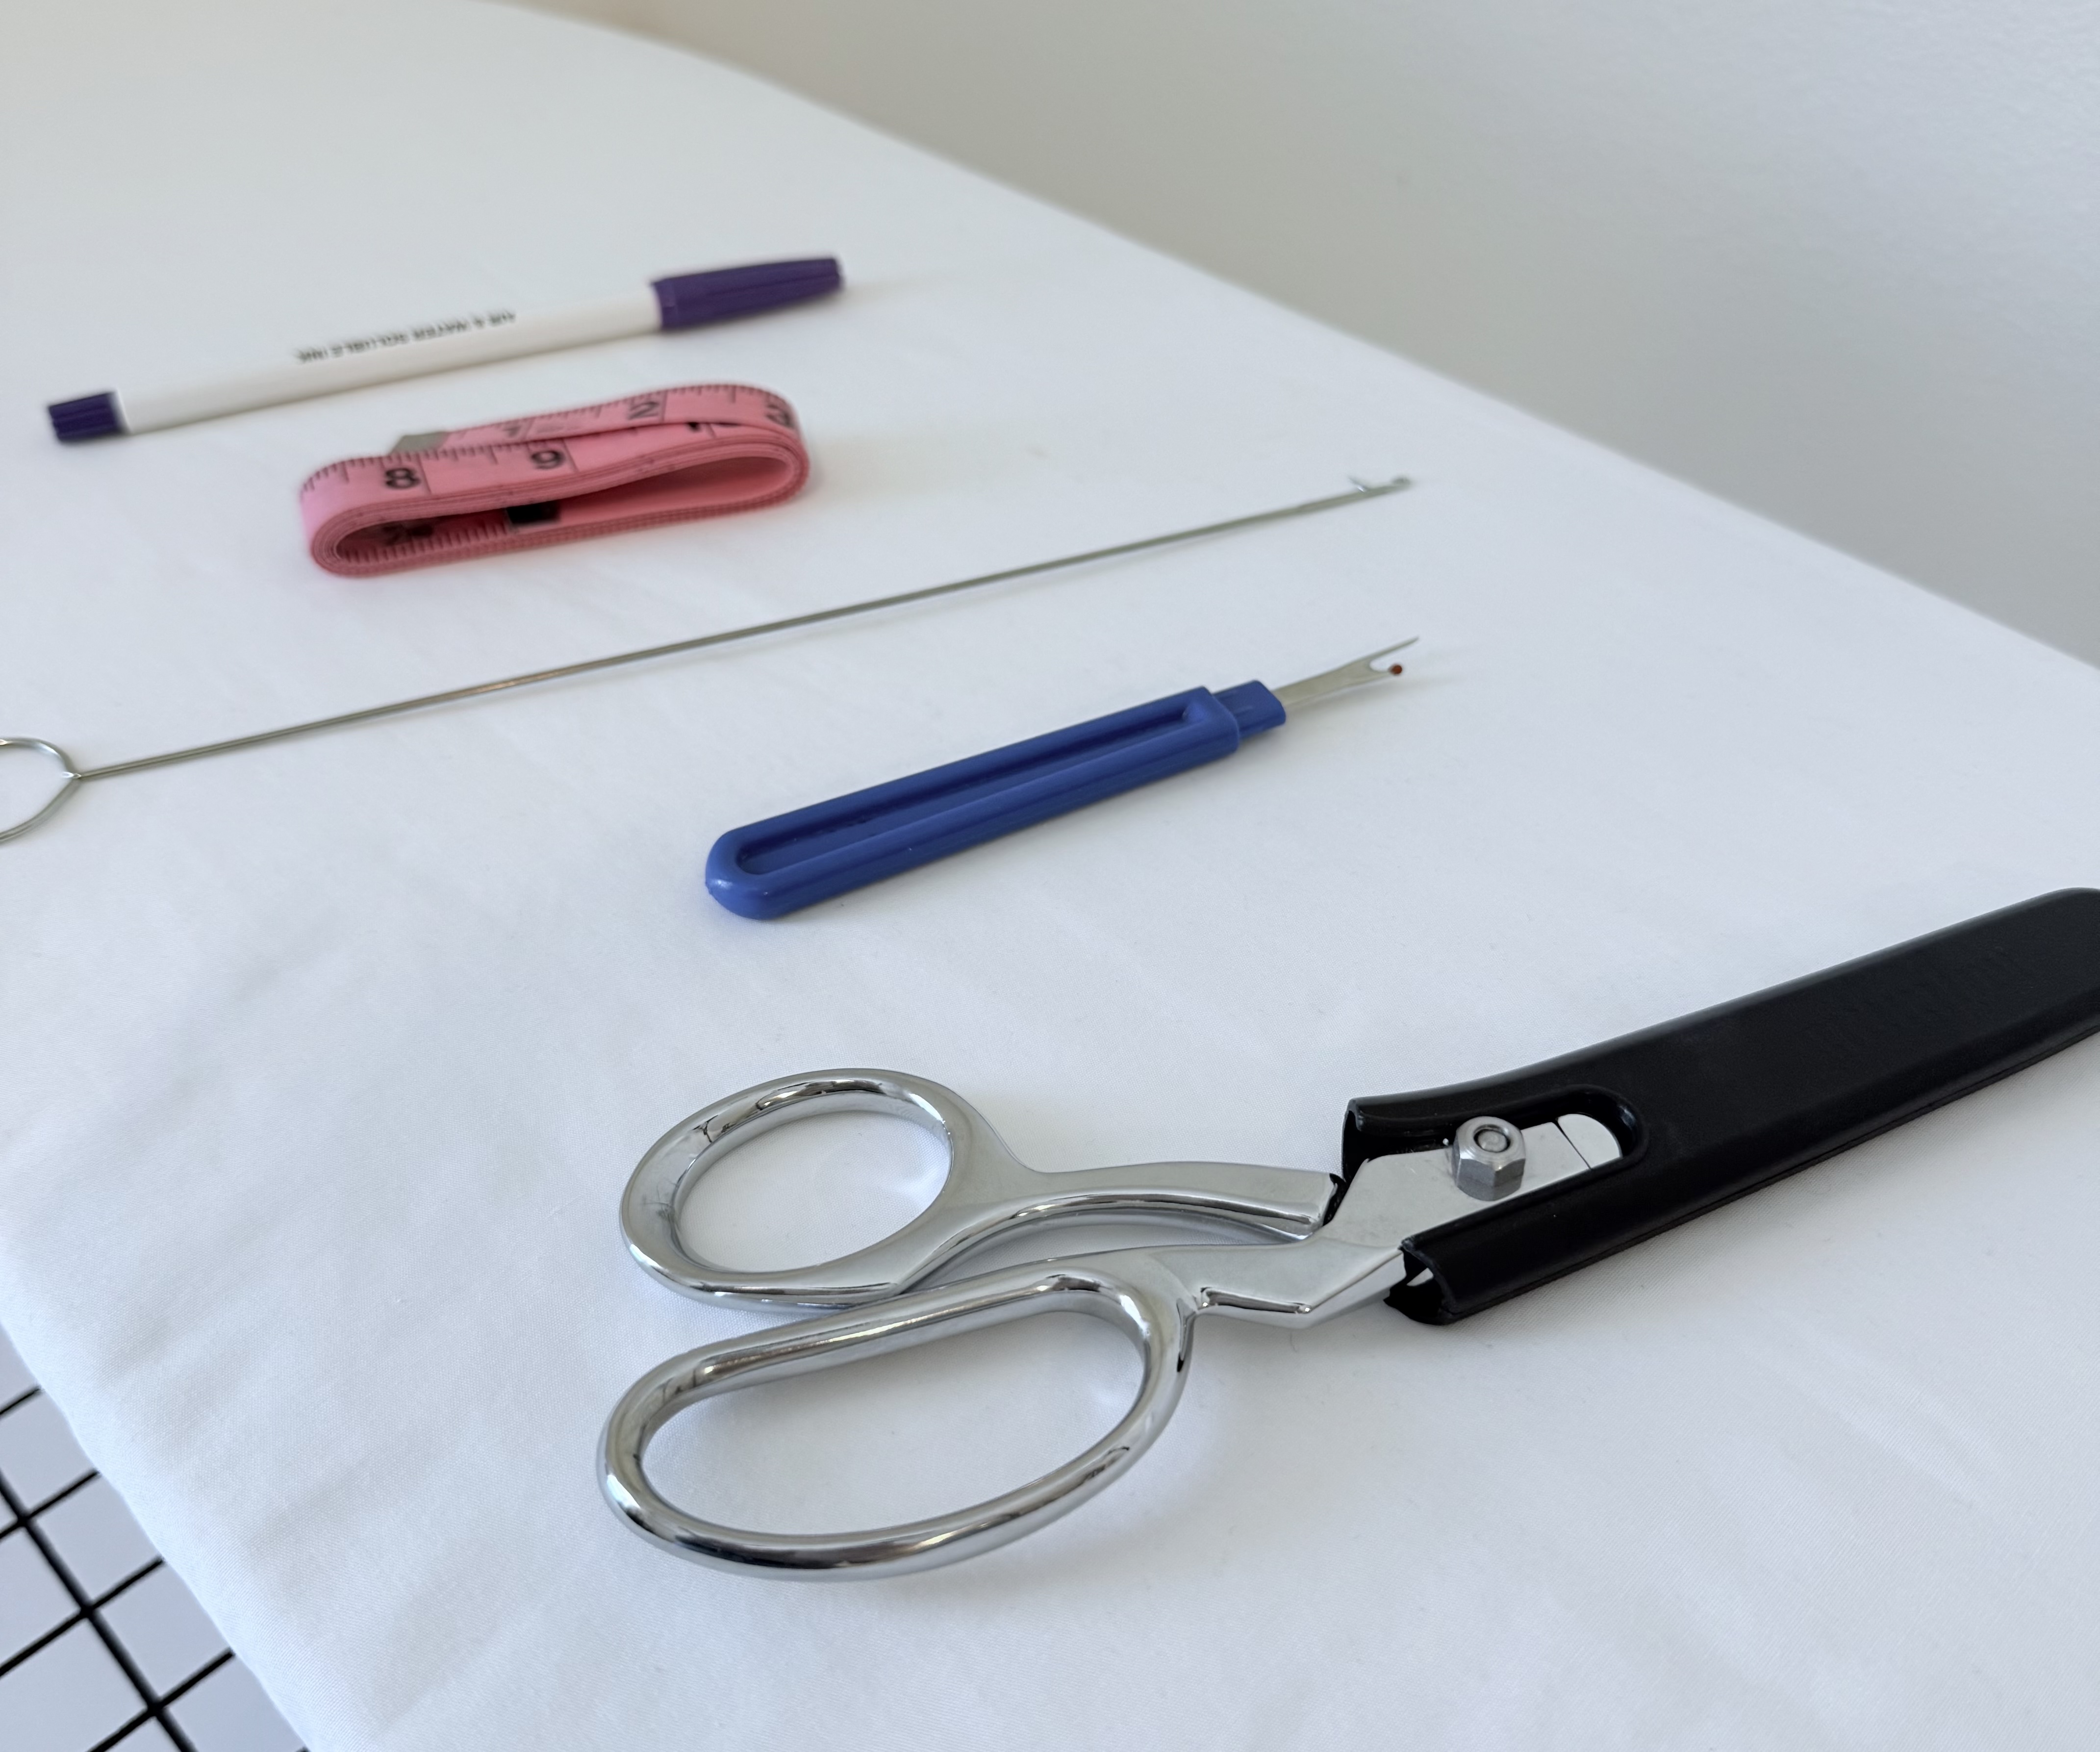
What You’ll Need

This post contains affiliate links. I may earn a small commission if you purchase through these links, at no extra cost to you. I only recommend products I truly trust and use.
- Thin Elastic Thread (I prefer clear elastic made for knitting)
- Thick Elastic Thread (This works best for chunky knit sweaters) – optional
- A hand-sewing needle
- Scissors
How to Add Elastic to a Sweater Hem

1. Measure enough elastic to go around the seater hem approximately 3 times (If you’re working on the bottom hem, only measure enough to go around once. Too much thread will be difficult to work with).


2. On the inside of the sweater, start at a seam and make a small stitch that isn’t visible on the right side of the sweater. Tie a double knot.

3. Take small stitches along the hem, barely catching the yarn.

4. Before pulling through, check that your needle hasn’t gone through to the right side.

5. Gently pull the needle through. Pull the elastic tight enough to support the hem, but not enough to gather it.

6. Continue stitching around the hem until you reach where you started stitching.

7. Sew a second row about ⅛” below the first.

8. Repeat for at least three rows total. For extra stretched hems, you may need to add a few more rows to help stabilize it.


9. Tie off at the seam, stitch the tail into the seam, and trim. Because yarn is thick, the elastic stays completely hidden from the right side.
Why This Works
Resiliency. Elastic bounces back, where knits naturally want to keep stretching. This small addition helps sweaters keep their shape through wear, washing, and time.
Watch the Free Tutorial
I filmed a step-by-step video tutorial showing exactly how I do this so you can follow along.
👉 [Watch the free sweater hem elastic tutorial here]
This is one of those small fixes that makes a huge difference, and once you know it, you’ll never unsee stretched sweater hems again.
Happy Sewing!
Sarah Jo


Leave a Reply