How to Sew a Rolled Hem with a Serger
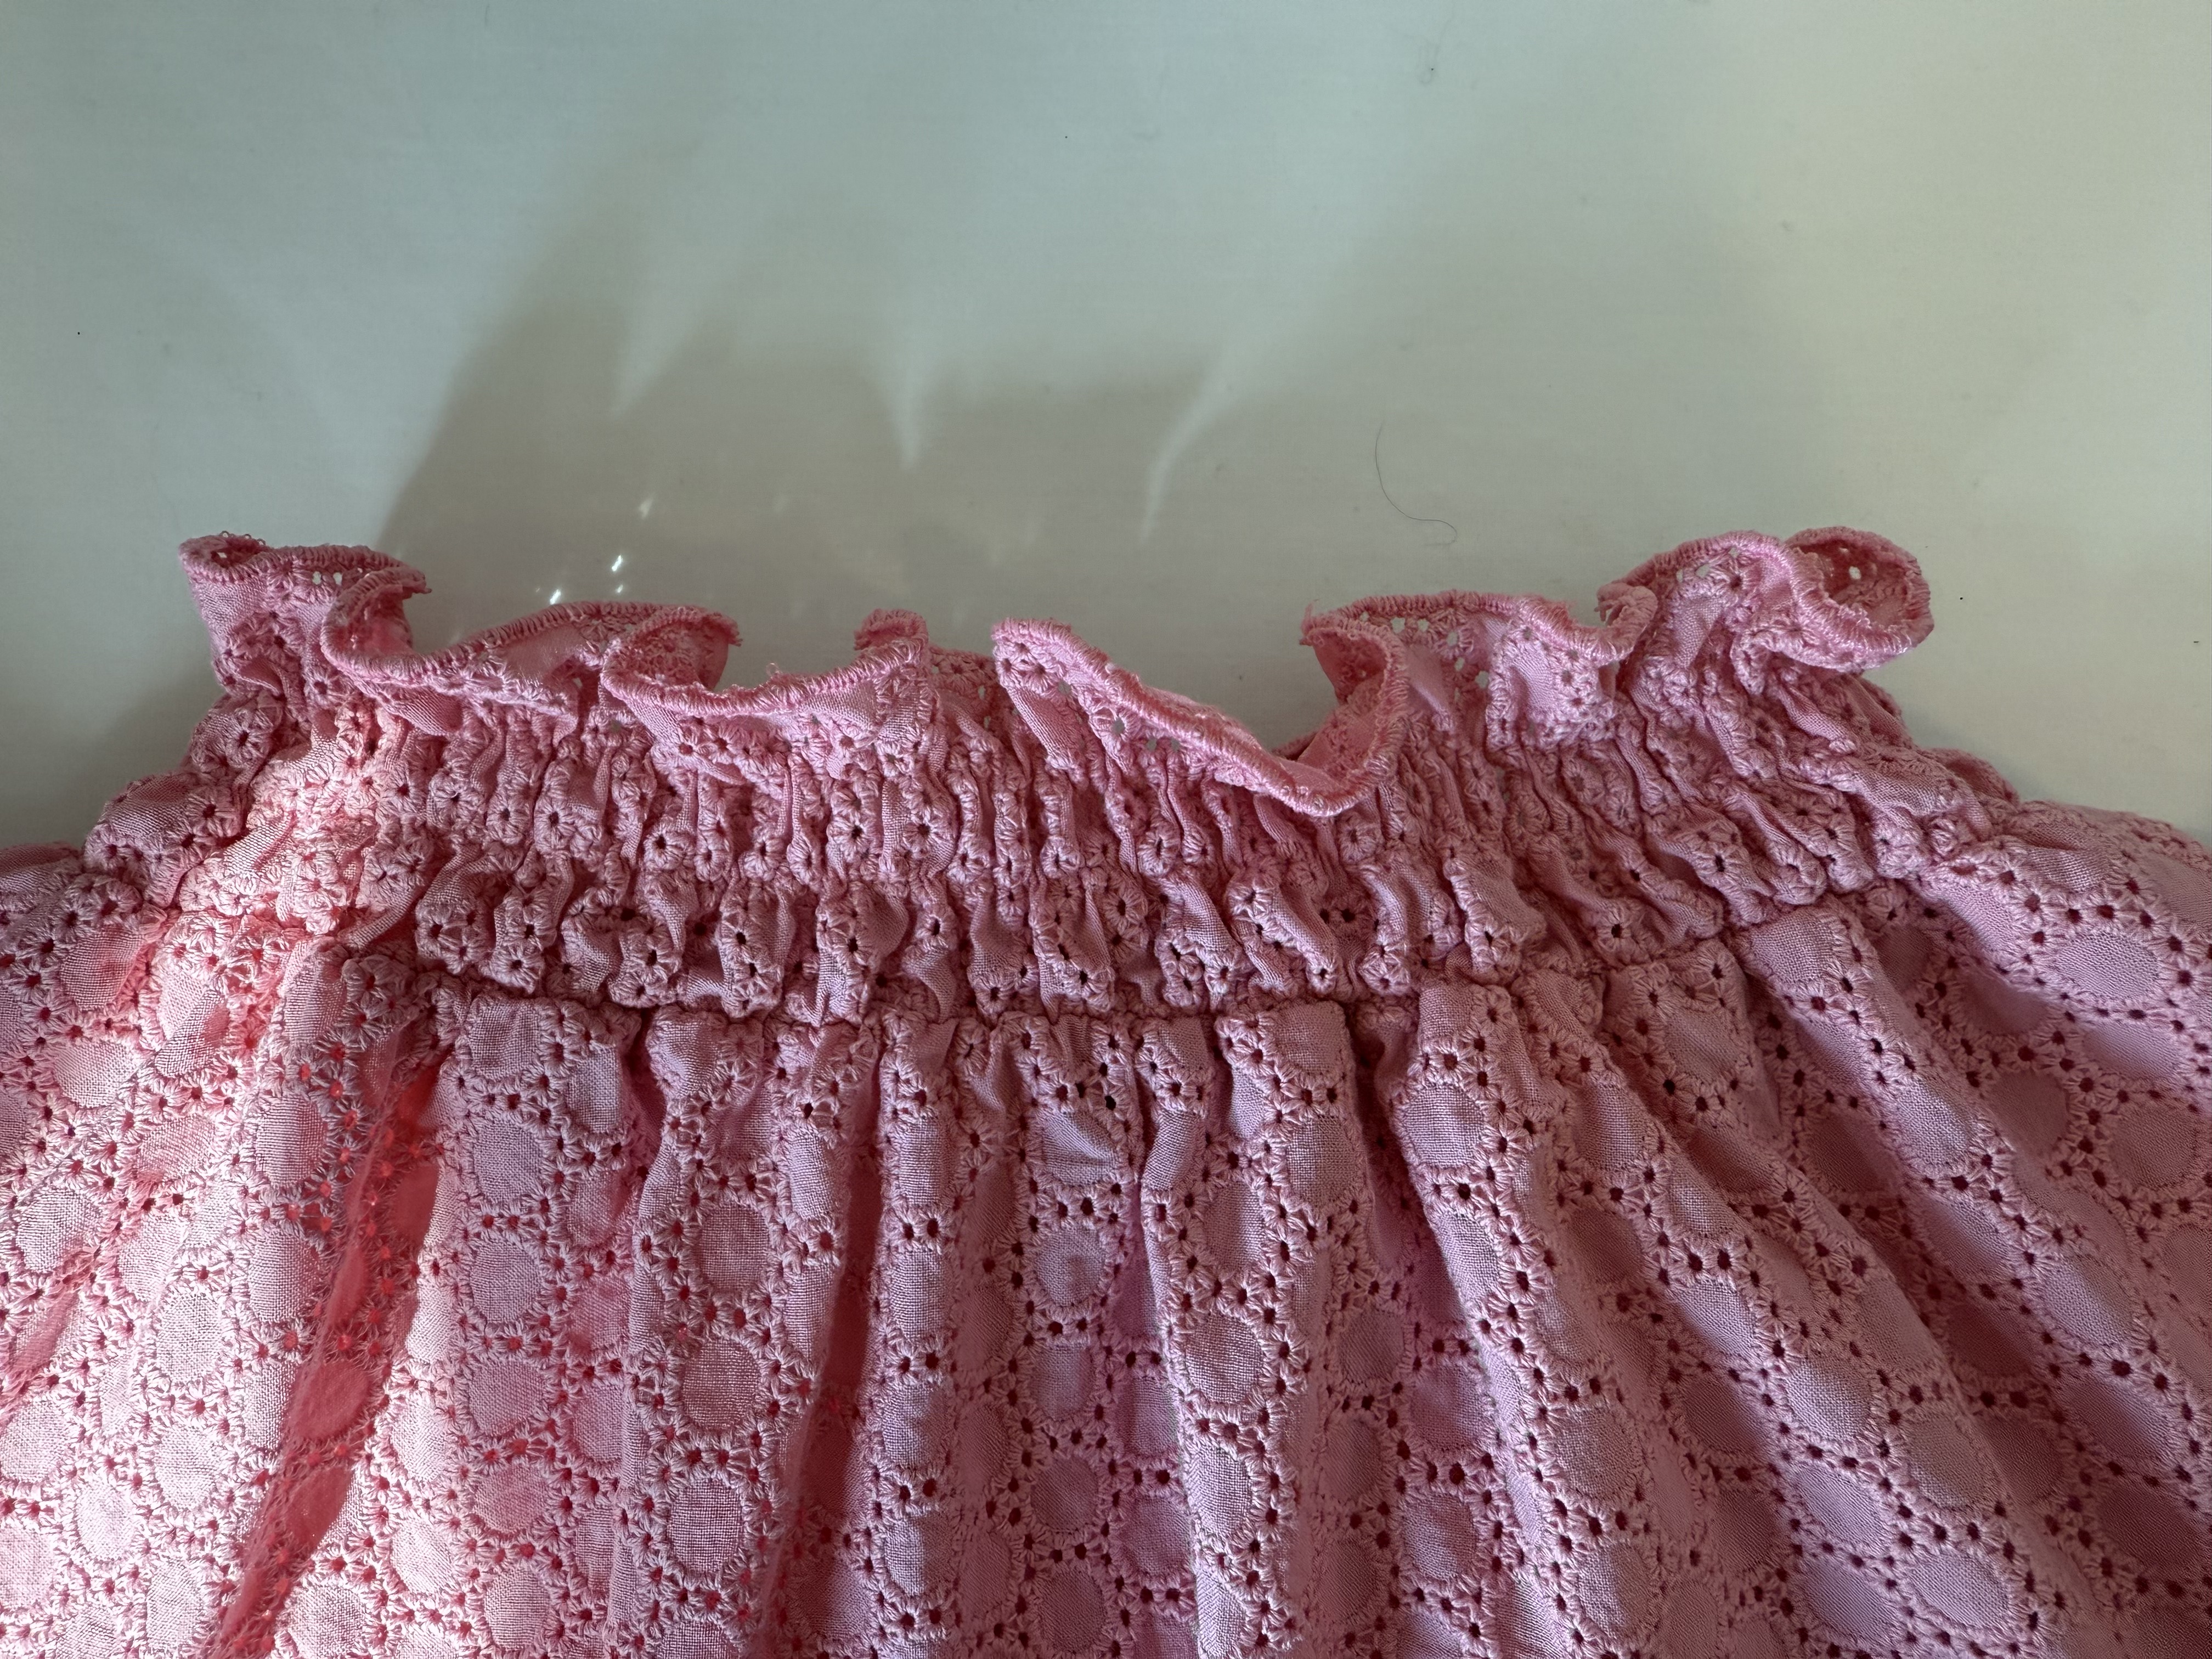
I recently made the Marley Blouse with a lace I’ve had in my stash for quite a while. I was putting off this fabric for so long because I didn’t know how to do it justice when it came to hemming it. My go-to hemming method is always the double turn hem. You can find a tutorial for it at this link, but this didn’t feel like the best method for this lace. After some research I decided to try out a rolled hem using my serger, and it didn’t disappoint!
It was so simple to do and only required a few adjustments to my serger. With how easy it was, there’s no way I was gatekeeping this method, so today I’m showing you how to sew a rolled hem with a serger! This clean, professional finish is one of my favorite ways to finish lightweight fabrics like scarves, blouses or delicate garments where you want a narrow, polished edge.
Whether you’re new to using a serger or just looking to fine-tune your technique, this quick guide will help you get that perfectly rolled hem every time.
What Is a Rolled Hem?
A rolled hem is a narrow, tightly stitched edge that “rolls” the fabric under itself, completely enclosing the raw edge. It’s ideal for delicate and lightweight fabrics like chiffon, lace or voile, and it gives your projects a professional, store-bought look. It’s also a great option for fabrics that are sheer so the hem doesn’t stand out negatively.
While you can sew a rolled hem on a standard sewing machine, using a serger makes the process faster and gives a clean, consistent finish with no ironing necessary.
What You’ll Learn in This Tutorial
In this post (and the video above), you’ll learn:
🧷 How to set up your serger for a rolled hem
🧷 My recommended Brother 1034D serger settings
🧷 How to remove the stitch finger for a smoother, tighter hem
🧷 What thread tensions and stitch lengths to use for best results
Recommended Serger
I’m using the Brother 1034D serger in this tutorial. It’s an affordable, beginner-friendly machine that’s easy to adjust and maintain. I’ve had this serger for 10 years and it’s held up well. It is an older model though, so here are some more updated versions. Based on how well this machine has held up, I would definitely recommend these Brother sergers as well:
👉 Shop the Brother 1034DX on Amazon (affiliate link): This is a newer model than mine, but still a great, affordable option.
👉 Shop the Brother ST4031HD on Amazon (affiliate link): This is a heavy duty model with a metal frame. It’s a bit more expensive, but will handle thicker fabrics well.
Brother 1034D Rolled Hem Settings
Here’s a breakdown of the exact settings I use for this technique:
| Setting | Adjustment |
|---|---|
| Differential Feed Ratio | 0.7 |
| Stitch Length | R (as short as it goes) |
| Stitch Width | 3 |
| Left Needle | Remove |
| Right Needle Tension | 4 |
| Upperlooper Tension | 5 |
| Lowerlooper Tension | 7 |
| Stitch Finger | Remove |
These adjustments create a tight, narrow hem that neatly encases the edge of your fabric.

💡 Pro Tip: Use matching thread for an invisible finish, or try a contrasting color for a fun, decorative edge!
Step-by-Step Overview
- Adjust your serger settings using the table above.
- Remove the stitch finger (this helps roll the fabric edge under).
- Remove the left needle, since we’ll only be sewing with one needle.
- Thread your machine as usual (except without the left needle) and test on a fabric scrap first.
- Sew along your fabric edge. Since the stitch length is short, it will feed through a bit slower than usual.
- Admire your clean, professional finish!
The result is a smooth, narrow hem that looks great on dresses, scarves and lightweight tops.
Final Thoughts
This serged rolled hem is one of my go-to finishes for delicate projects. Once you’ve mastered it, you’ll find yourself using it all the time!
If you try this technique, I’d love to see how it turns out. Tag me on Instagram @_tailored_trends or leave a comment below letting me know what you’re making.
Happy sewing! 🧵
— Sarah Jo


Leave a Reply